Wednesday, April 2, 2008

29) It fits!

Photo

Here is the Subaru EJ22 all bolted up and the body temporarily back down on the chassis. This thing fits in there without any modifications to the body. (Note: I will need to modify the rear apron a bit for it to fit around the timing belt cover) I bolted the engine in with a Kennedy (KEP) adapter plate.

I can see now that there are a couple of items to address here. First of all the throttle body is pointed right at the firewall. I will rotate the entire intake assembly around 180 degrees. Secondly the coolant manifold is pointed strait towards the back of the car. I will flip that around 180 degrees. This will have to be cut and re-welded to clear the crank case (Pictures to come).

Labels: , , ,

Tuesday, March 25, 2008

28) Timeout for seats!

Photo

In all this cold weather, I decided to work on the seats. There's nothing like working on the bug in my living room with the TV tuned to Power Block! I went through each seat and tore off the old covers, and worn out padding. I repainted any metal with a coat of rust proof black.


Photo

Here is the seat down to bear bones.


Photo

The underside after paint, new cushion, and cover.


Photo

Finished! The new covers from TMI look great!


Photo

Here's the back seat, done in all it's glory!


Photo

Another shot of the back seat (upper)

Labels: , ,

Monday, January 21, 2008

24) Front apron grill

So after thinking (read: worrying) about air flow the other day, I finally bit the bullet and decided to add some venting to the front apron. This was hard for me because I really wanted ALL of the body work on this car to be stock, and this would change the attitude of the car a little. But I want to be functional above all, and I really don't want to be caught 100's of miles away and have this thing over heat :)

I finally came up with the idea of using a grill just like a super beetle. The problem with the super beetle is the grill up front is very rounded, and it just wouldn't work in this virtually flat apron. Then it hit me, I have a spare hood, and it's got the fresh air vents up top! Sure enough, I cut it out and it fits perfectly! I really like how this is going to look, because it will match the one of the hood!


Photo

Here are the first few welds. I'm being super careful here about heat and burn through. I don't want to alter these perfect vents. I couldn't only imagine how hard it would be to fix them.


Photo

A few more welds, slowly...


Photo

The finished product. I'm in love!

Labels: , ,

23) Radiator bracing

Photo

Here is the initial planning for the radiator bracing. The round bars that are crossed are just there for bracing the front end temporarily (to keep it straight). I will leave out the sheet metal that is normally behind and below the spare tire. I'm framing the area with square 3/4" tubing. I will triangulate the corners for strength and keep this whole front end square. My plan is to make this area generic enough that I can use many different radiators (if needed) I will (hopefully) just have to make new radiator mounting brackets that will bolt to these cross bars.


Photo

Here is my new radiator (its aluminum made by Mishimoto for a Honda Civic) The copper 90' fitting is there representing the shape of coolant hose I'll have to find. You can see here the cross bar in front and the cross bar below that I will build the brackets onto. I plan to close this top section all in with either aluminum or fiberglass. Air flow will come from the entire open floor, plus vents that I will weld into the front apron. Coming next!


Photo

Here is the detail of strengthening the corners. I'm integrating the original gas tank support into the bracing.

Labels: ,

21) Further progress on the front end

Photo

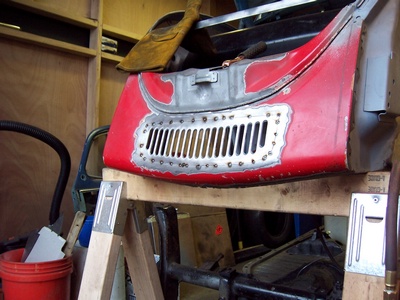
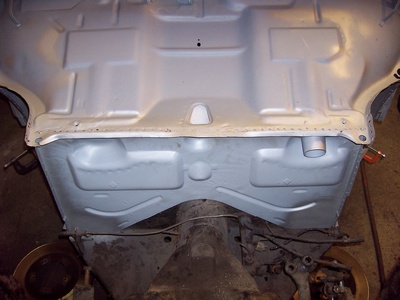
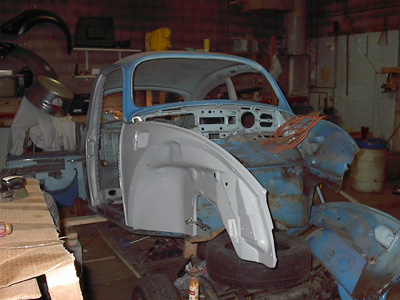
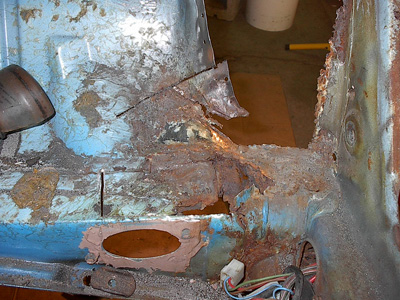
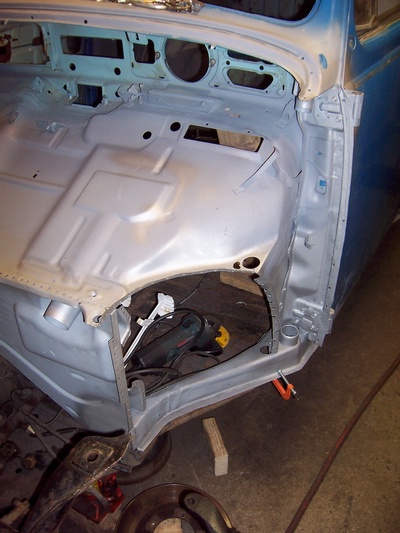
This section has been sand blasted and primed with weldable primer. Just about ready to weld in the quarter panel.


Photo

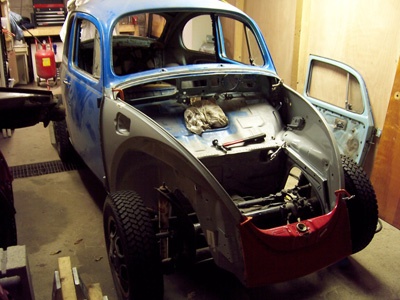
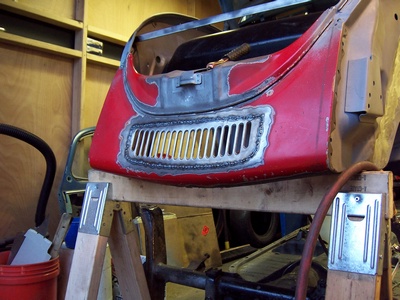
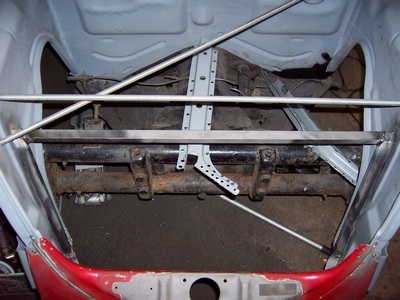
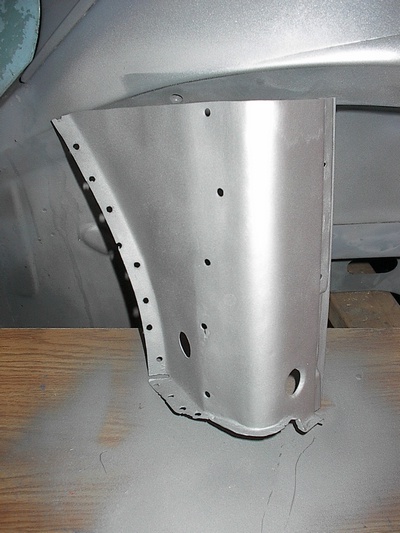
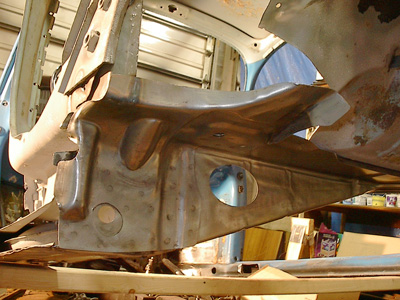
The final mock up of the two quarter panels and the front clip. Everything is lining up pretty good. I will attempt to keep everything as straight as I can as I start to tack everything in.


Photo

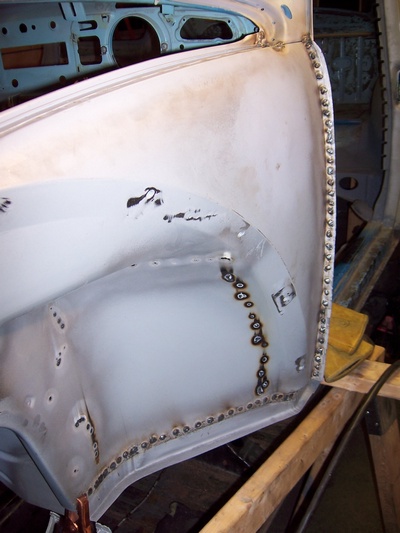
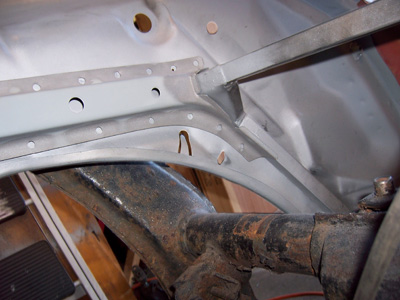
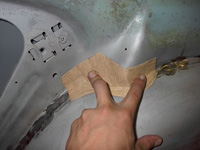
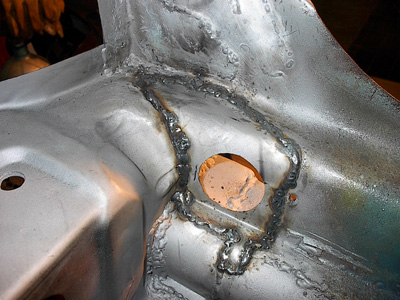
The start of the spot welds! I drilled holes into the quarter panel, and welded each one up. It was important to weld each time in a completely different area so the heat would not build up and warp the panel. The edge were the drip rail and panel come together (In front of the door) will be a tricky area to perfect. I have to bend the outside edge around to the front. I will carefully grind the welds down first.


Photo

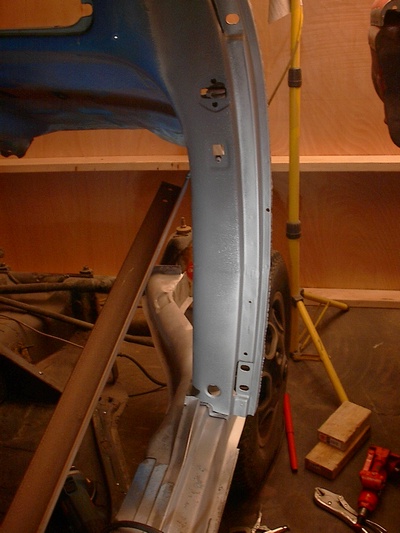
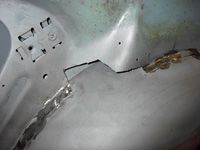
Here I've tacked on the weather strip holding piece. This metal is a bit thinner then the rest of the car, so I had to go quickly to not burn through. My first side I had drilled holes through the strip, and welded them up, but I found that this was too aggressive. The other side I ended up just welding spots directly beside the strip, and moving in on the strip. This gave a much cleaner weld, and actually burned through much less. After welding, I went through and ground down the top and bottom of each weld.


Photo

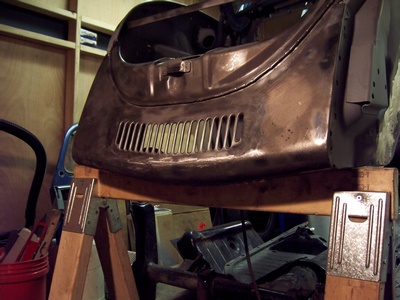
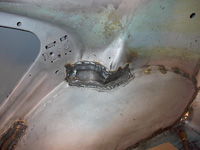
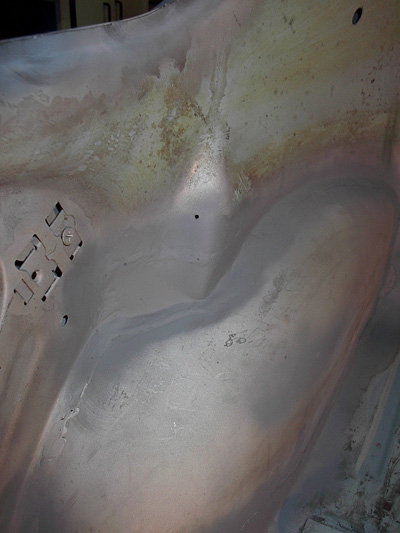
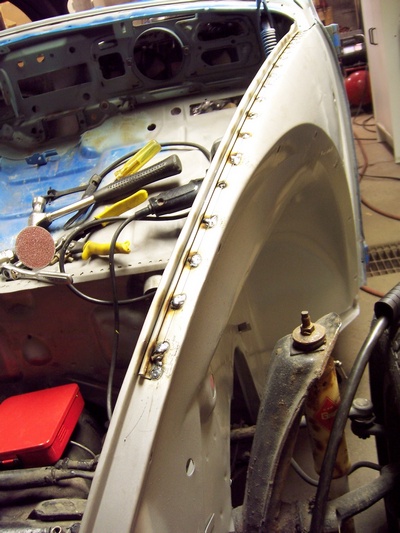
Here is the right side after grinding the welds down, bending the edge over, and hammer / dollying the crap out of it for a while. Turned out pretty good. Any section that was bulging out a bit, I hit with a flat file. Later when I'm doing paint prep, I may revisit this area and make sure this line is very smooth and straight. Maybe a little bondo (and paint, make it what it aint! :)

Labels: ,

Saturday, December 8, 2007

19) New kick panel mocked up

Photo

Here's the new kick panel mocked up into place. I set the body down to check the alignment of the kick panel and the floor pan.

Labels: ,

17) Right lower door hinge pillar

Photo

Here is a piece pulled from a southern car (Thank you www.thesamba.com). I carefully extracted the metal needed to just replace the lower pillar (including the hinge mount. This is after sandblasting and trimming. I lined it up to the car, marked the line on the car, and cut. Using a file on both parts, I was able to get it to line up just right.

Photo

After welding and grinding, and a coat of primer. I'm not welding the lower section to the heater channel just yet because I want to be able to line up the doors before I tack them down.

Labels: ,

Tuesday, August 21, 2007

14) First test fit

Photo

Finally cut away all of the old quarter panel so I could test fit the new one. The fit was pretty good!

Labels:

Monday, June 4, 2007

10) Making a patch panel


Here are the steps I took to patch a small section above the rear fender well. I just used a piece cardboard to make a template, and then copied it to a piece of metal. (I used an old German door for sheet metal) After welding it in, I do the best I can to grind it down.


Here is the final shot. Since this area won't be seen it doesn't have to be perfect. In areas that will be seen, I will weld the patch in flush, and take more time grinding and sanding.

Labels:

7) Left rear crossmember


One of the most rotted sections of my beetle was under the rear seat just above the crossmember (The part with the oval hole). My strategy here was to just make straight cuts far enough away from the rot so that I could make patch panels. I also found replacement crossmembers.


Here is the new crossmember in place. I made sure to remove any primer and all of the surrounding paint on the car.


After welding in the crossmember, I had to make some patches. This section is where the main wiring harness goes through. I hope I can find a good rubber grommet that will fit! After welding these in, I try and grind down the weld beads as best as I can.

Labels: , ,