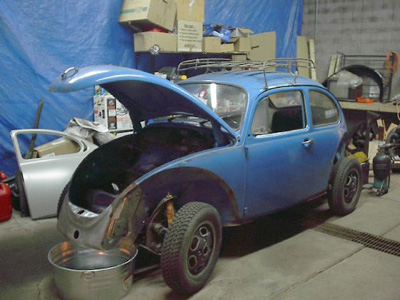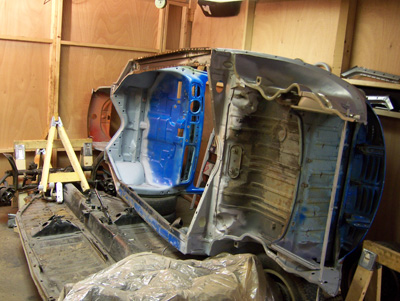
Tuesday, March 25, 2008

28) Timeout for seats!

Photo

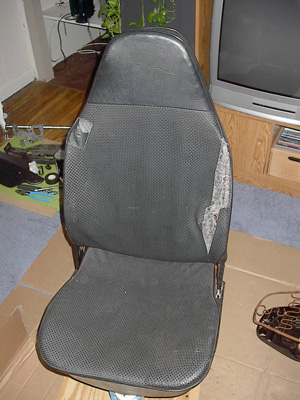
In all this cold weather, I decided to work on the seats. There's nothing like working on the bug in my living room with the TV tuned to Power Block! I went through each seat and tore off the old covers, and worn out padding. I repainted any metal with a coat of rust proof black.


Photo

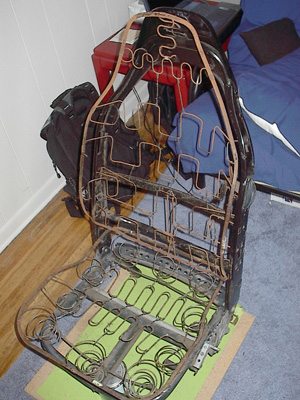
Here is the seat down to bear bones.


Photo

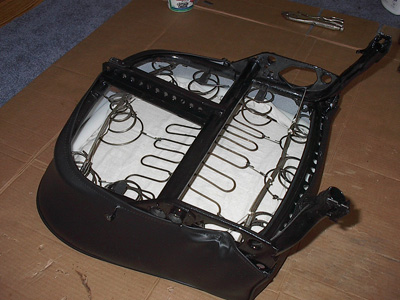
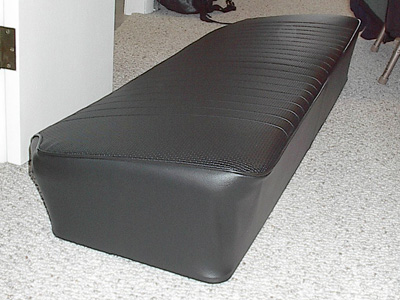
The underside after paint, new cushion, and cover.


Photo

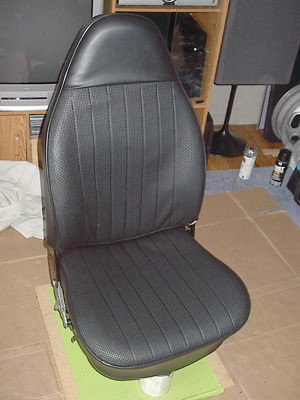
Finished! The new covers from TMI look great!


Photo

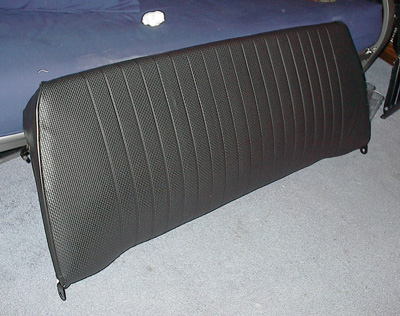
Here's the back seat, done in all it's glory!


Photo

Another shot of the back seat (upper)

Labels: , ,

Monday, January 28, 2008

25) Heater Channel Work

Photo

I've got the body rolled over on its side now, peeling off the bottom cover of the heater channels. Since I replaced the front section which didn't come with the bottom cover, I figured this was a good time to replace the entire length. I wanted to expose (hopefully) the last of the rust, and be done with it once and for all!


Photo

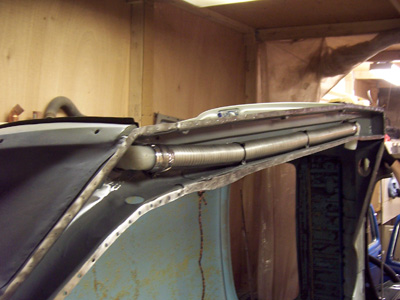
Another piece that I wanted to improve was the pipe that the hot air travels through up to the front. The originals were all rusted, and were not air tight. My solution was to buy some galvanized steal tubing from McMaster-Carr, and some 90 degree pipe fittings to plumb the hot air up to the front.


Photo

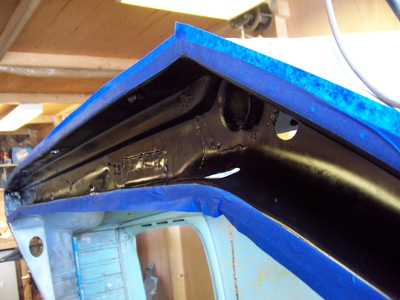
After sandblasting I painted the inside of the channels with Magnet Paint Chassis Saver. (Found at my local paint supply store) I really like how this stuff goes on, and drys to a nice smooth finish. I will be using this paint where ever I want to protect against future rust, rock chips, and general dirty shenanigans : )


Photo

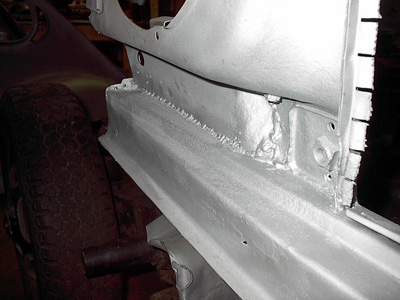
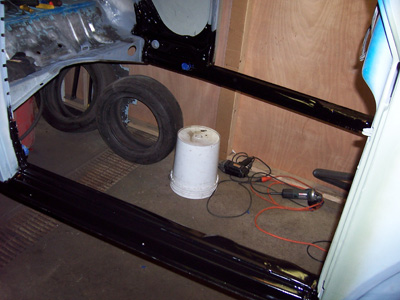
Here is everything painted up and finished. To get to this point, I drilled a zillion holes in the covers, sprayed weldable zink primer on the spots to be welded, welded all the holes up, ground down the welds, and painted on the rust paint.


Photo

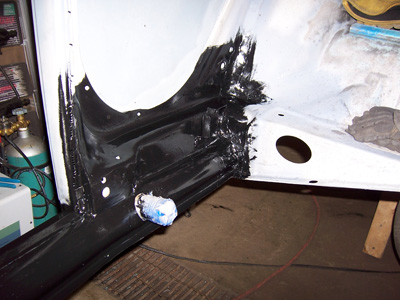
Here is the back section, you can see the 90 degree elbow sticking out. I ended up welding up the old hole that the heater channel was sticking out of, and cut a circular hole that the fitting would fit nicely in.

Labels: , ,

Saturday, December 8, 2007

18) Left lower door hinge pillar

Photo

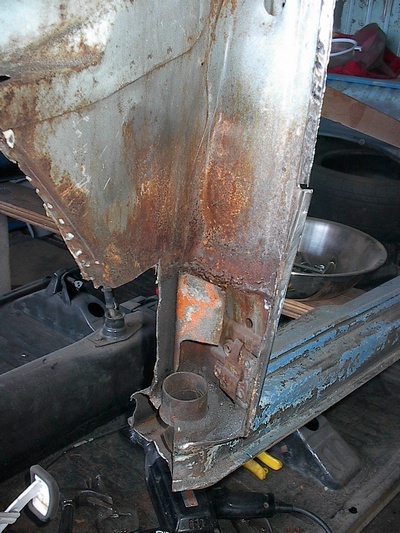
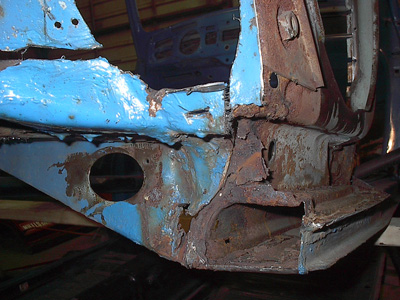
Here's what the left side looked like before cutting it all away. You can see where I had welded in another hinge section. So much rust to sandblast!

Labels:

Thursday, October 11, 2007

15) More work on right front

Photo

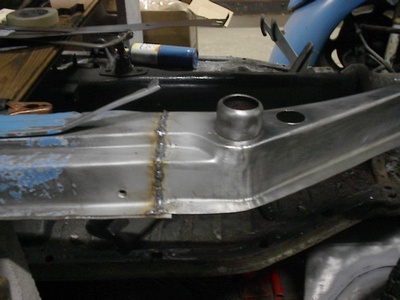
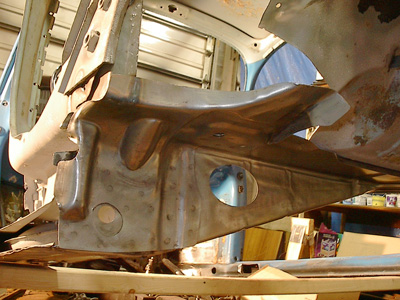
Here I've welded in the new front section of the right heater channel. The quality and fit were good. I made sure the fit was correct by clamping in the firewall and the underside of the heater channel. In a perfect world I would have just replaced the entire channel, but I have to draw the line somewhere! : )

Photo

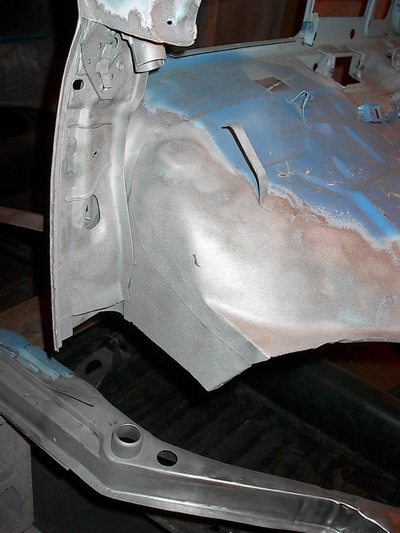
After cutting away any rot and rust holes, I sandblasted the entire area! I love the look of fresh clean metal! You can also see the finished heater channel after I ground down the welds. All of these sections are ready to be painted with zink weld though primer. I really don't want any metal exposed. It's my life mission at this point.

Labels: ,

Thursday, July 5, 2007

13) Front tear down time!

I've started tearing down the front end spot weld by spot weld! It's so much easier to cut out sections with the 3" cut off wheel, then work your way around drilling the spot welds out. This is the least disruptive way that I can take panels apart. I'm know there are special made drill bits to extract spot welds, but I don't mind taking weeks to do a job that some chump can do in an hour ; )


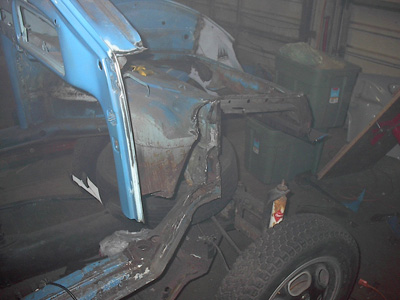
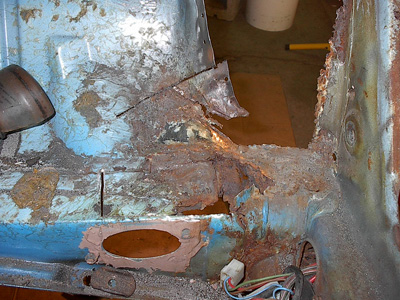
Here you can see that I've got the right side almost all the way removed. I've also gone ahead and removed the lower A pillar. (It was a goner!) I've noticed also here that my foot wall (normally a firewall on a front engine car) is really rusty, plus the front section of my rocker panel is just about rotted out too! (That was new like 5 years ago!) Time to order pieces parts!

Labels:

Monday, June 4, 2007

9) Right rear quarter panel


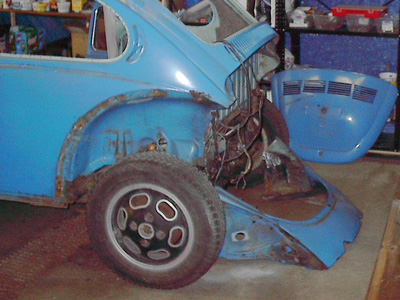
Here's the worst of the right rear quarter panel! Looks bad, but really after I cut out all the rot and sandblast everything, it turns out pretty good!


This shot was taken was I was about ready to start welding the quarter panel on. I try and make sure that every boxed in section, is painted with zink weld through paint. I'll make sure everything is sealed up tightly also so that the boxed in areas are protected from the elements.

Labels: ,

7) Left rear crossmember


One of the most rotted sections of my beetle was under the rear seat just above the crossmember (The part with the oval hole). My strategy here was to just make straight cuts far enough away from the rot so that I could make patch panels. I also found replacement crossmembers.


Here is the new crossmember in place. I made sure to remove any primer and all of the surrounding paint on the car.


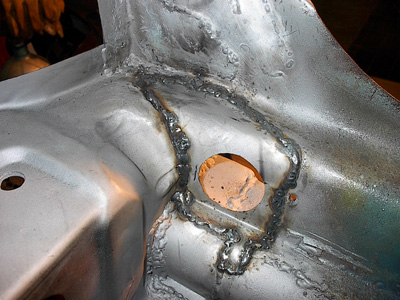
After welding in the crossmember, I had to make some patches. This section is where the main wiring harness goes through. I hope I can find a good rubber grommet that will fit! After welding these in, I try and grind down the weld beads as best as I can.

Labels: , ,

6) Tear down of the left rear quarter panel


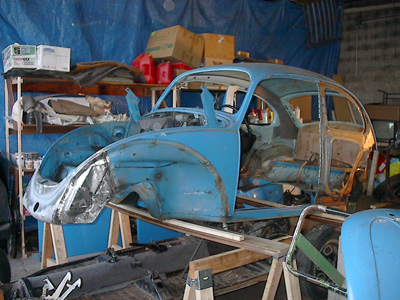
The left rear quarter panel comes out piece by piece. The further I got, the more I found rust and rot! The area behind the vents was rusty because moisture was able to sit in there.


Getting the body way up helped with the removal process. After getting all the pieces out the sandblasting process begins!


Here's another angle of the body up off the chassis. You can see my first try at replacing the front panel early on. The piece was a crappy aftermarket piece and just didn't fit right, so that will have to come out. Keep reading!

Labels:

Monday, May 28, 2007

4) The first cut

Photo

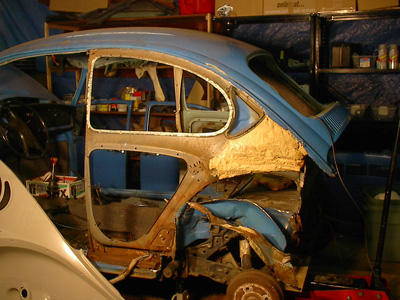
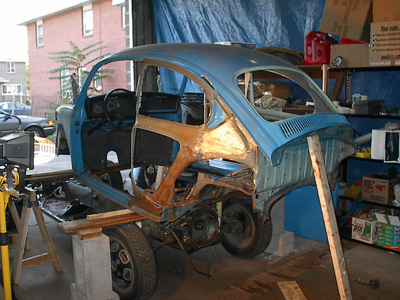
The first major surgery was getting the rear quarter panels off. It all started by cutting the rear end right off. While doing this major extraction I learned that you can't get entire panels off all at once without a lot of trouble, so the best way is to just chip away.

Photo

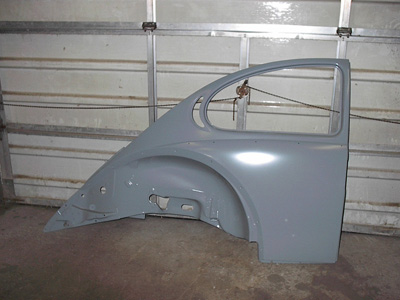
This is the right side rear quarter panel. Although it's not German, it's a very well made piece! It was made by VW of Mexico. I got both rears and both fronts from Rocky Mountain Motorworks. (now called Mid America Motorworks) I figured that I would install the quarters each as an entire piece. I fiddled with the idea of cutting it down the mid seam to save some time, but I found a lot of rust just behind the quarter windows and under the roof rails.

Labels:

3) Tearing it down!

Photo

I started by taking everything apart that I could get my hands on. I knew that eventually I'd be down to the bare shell and chassis. It starts with the big items (fenders, hoods, seats) and just keeps going and going, until I had small bags of bolts and pieces parts. The more I tore it down, the more awful rust I found! I knew this project was going to take some serious time to complete!

Labels: ,