36) Coolant manifold

The coolant manifold got the same treatment as the intake manifold. You can also see here the outlet (top right) has been cut and re-welded to be shorter and now fits when bolted down in it's new flipped position.
You can also see on the bottom left a fitting for one of the heater connections. I ended up removing the steel tube that was originally bolted to the manifold, and tapped the hole for the NPT fitting.
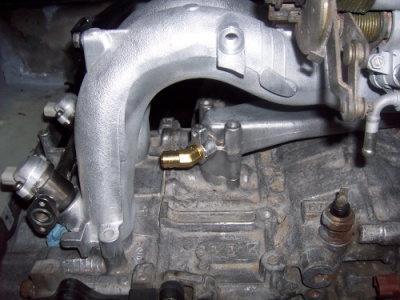
You can see here how it fits under the intake manifold. The heater hose will go in between the intake runners.
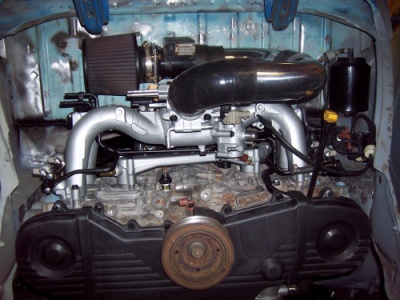
Here's a quick show of how it all looks bolted up : )
Labels: current progress, engine, mock up
posted by - Pete @ 7:22 PM
3 Comments
![]()

3 Comments:
Nice work! I'm from Brazil and trying to put one of these engines on a vehicle called Gurgel, VW based off road.
You doing a very clean work, i'm impressed, keep us updated!
Do you have pics with better resolution?
Marcelo,
Thanks for the words of encouragement! I have all the high res images, plus many more that I'm not posing. I will get them together into some zip files so everyone can download them. I just need to organize them and I will get them up soon.
-Pete
Hi Pete! Thanks man, the high res pics would be great, will help me a lot too!
If you want to see my ideas, search on Shoptalk foruns for "Gurgel X-12", it's stoped now, but hope to begin the work again very soon!
I really like your work, it's a reference point to me and some friends here in Brazil!
... sorry for poor english!
-Marcelo Marchiodi
Post a Comment
<< Home