Monday, June 4, 2007

10) Making a patch panel


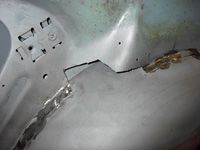
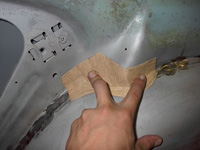
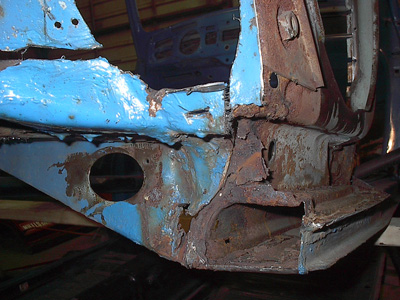
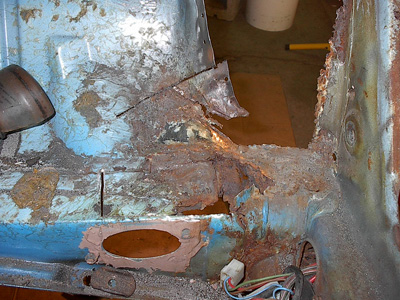
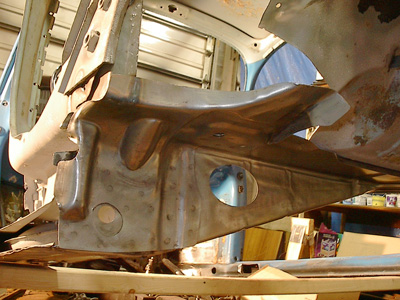
Here are the steps I took to patch a small section above the rear fender well. I just used a piece cardboard to make a template, and then copied it to a piece of metal. (I used an old German door for sheet metal) After welding it in, I do the best I can to grind it down.


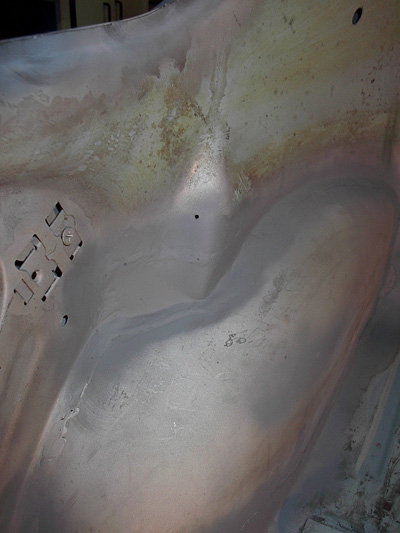
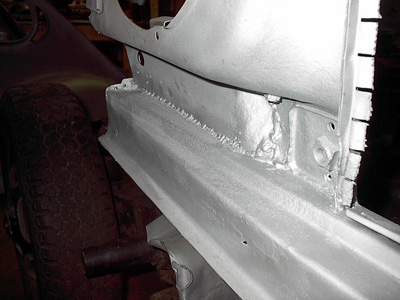
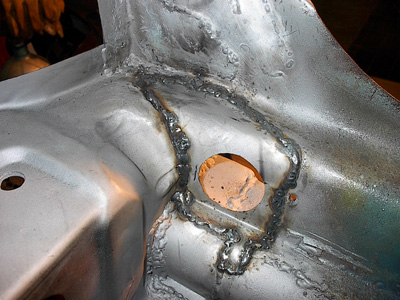
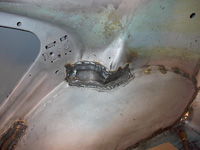
Here is the final shot. Since this area won't be seen it doesn't have to be perfect. In areas that will be seen, I will weld the patch in flush, and take more time grinding and sanding.

Labels:

9) Right rear quarter panel


Here's the worst of the right rear quarter panel! Looks bad, but really after I cut out all the rot and sandblast everything, it turns out pretty good!


This shot was taken was I was about ready to start welding the quarter panel on. I try and make sure that every boxed in section, is painted with zink weld through paint. I'll make sure everything is sealed up tightly also so that the boxed in areas are protected from the elements.

Labels: ,

8) Left rear quarter done!


I'm happy with how these quarter panels ended up. The part I worried most about was the top ridge running under the drip rail. It looks like that originally at the factory the top of the quarters were spot welded in before the roof was put on. I ended up drilling holes down through the drip rails. This way when the quarter was put in place, I could place a plug weld from the top. It ended up working really well! This picture was taken after I ground down the welds.

Labels:

7) Left rear crossmember


One of the most rotted sections of my beetle was under the rear seat just above the crossmember (The part with the oval hole). My strategy here was to just make straight cuts far enough away from the rot so that I could make patch panels. I also found replacement crossmembers.


Here is the new crossmember in place. I made sure to remove any primer and all of the surrounding paint on the car.


After welding in the crossmember, I had to make some patches. This section is where the main wiring harness goes through. I hope I can find a good rubber grommet that will fit! After welding these in, I try and grind down the weld beads as best as I can.

Labels: , ,

6) Tear down of the left rear quarter panel


The left rear quarter panel comes out piece by piece. The further I got, the more I found rust and rot! The area behind the vents was rusty because moisture was able to sit in there.


Getting the body way up helped with the removal process. After getting all the pieces out the sandblasting process begins!


Here's another angle of the body up off the chassis. You can see my first try at replacing the front panel early on. The piece was a crappy aftermarket piece and just didn't fit right, so that will have to come out. Keep reading!

Labels: